How to enable WP_Debug In WordPress?
WP_Debug is a built in debugging tool that when enabled, will display any PHP errors on the front-end of your WordPress website. This tool is ideal for debugging the infamous WordPress white page of death and other coding related issues.
In this quick and easy guide, we will show you how to enable the WP_Debug feature and output the results to a log file.
How to Enable WP_Debug in WordPress?
Please follow below steps to enable WP_Debug for your WordPress installation.
Step 1
Navigate to your wp-config.php file located in the domains root folder. This can be found through your FTP Client or Webshell.
Step 2
Open the wp-config.php file and find “WP_Debug” in file code, if you find it set the value to true if currently set to false.
define( 'WP_DEBUG', true );
If you didn’t locate “WP_Debug” then add the following code before the line that says “# That’s It….”
define( 'WP_DEBUG', true );
Step 3
Save file and it should look like below:
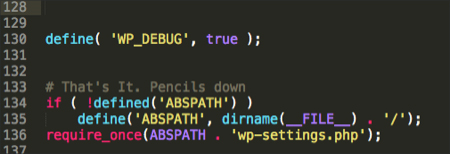
Step 4
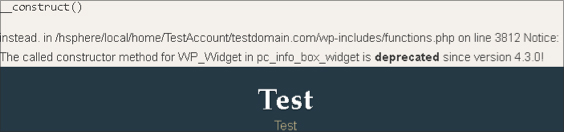
Now go to your website front-end. If any errors are being generated, then they will show at the top of the page. See the example image: